Choose Tools | Other Tools |  Create or Edit Custom Symbol.
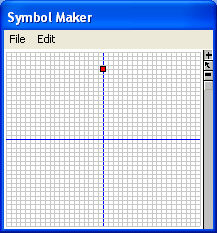
The Symbol Maker blank grid will appear. Click on the add tool  which appears to the right of the grid.
Click on the grid with the left mouse button. A grid point appears.
The Symbol Maker enables users to create a variety of symbol shapes. These user-defined symbols can be saved as symbol files with the .SYM file extension. Those .SYM files can then be added as symbols in the Toolbox, to be used as any other symbol.
Create a one-part, user-defined symbol:
Choose Tools | Other Tools | Create or Edit Custom Symbol.
The Symbol Maker blank grid will appear. Click on the add tool which appears to the right of the grid.
Click on the grid with the left mouse button. A grid point appears.
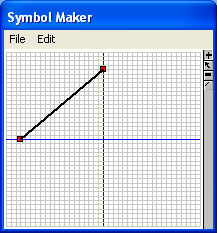
Click again to place a second point on the grid, and see the line appear between the first and second points.
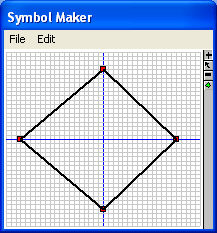
Continue placing points on the grid until an enclosed figure has been created (end by clicking on the original point, to enclose the shape). This is an example of a one-part symbol.
Click the  button to undo the most recent additions to the shape.
To move established points from one location to another, click the ![]() button and then click and drag existing points on the grid.
button and then click and drag existing points on the grid.
When finished, click File | Save to Symbol file or Save as Embedded Symbol.
File | Save to Symbol File to save the .SYM file to the Symbols folder. Any Milestones schedule can use this symbol. These symbols can be embedded later.
File | Save as Embedded Symbol to save the symbol as a part of that schedule. Embedded symbols automatically have EMBEDDED: attached to the beginning of the symbol name, e.g. EMBEDDED:symbol1.sym.
Embedded symbols are recommended if a schedule containing the custom symbol will be shared.
Name the file and Save.
Choose File | Exit Symbol Maker.
The next step is usually adding the user-defined symbol to the toolbox.
