Question:
I am showing several projects on one chart. I need some ideas for separating them visually.
|
Answer:
There are several ways to separate tasks visually on a schedule like this one. We'll show you three ways here:
Method 1: Add grid lines:
-
Using the  (arrow tool), right-click a task after which you would like a separator. (arrow tool), right-click a task after which you would like a separator.
-
From the drop-down list, choose Gridline/Shade...
-
 Apply New Selections to all three sections. Apply New Selections to all three sections.
-
Under Left Columns, Show Gridlines.
-
Change the Line Type and Line Color to meet your requirements and click OK.
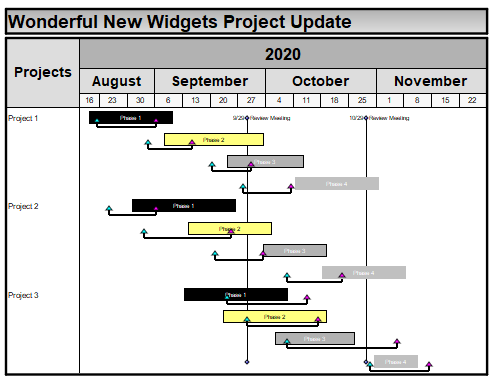
Example using grid lines:
Method 2: Shade the task rows:
-
Using the (arrow tool), click once on the first task row to be colored. (For example: Design)
-
Hold down the Shift key and click once on the last task row to be colored that is in the same group. (For example: Prototype B)
-
The toolbar will change to Current Object: Task Row. On the toolbar, choose More Task Row Options and then Gridline/Shade.
-
Click the Shading tab.
-
Apply New Selections to all three sections.
-
Under Left Columns, Shade the task row.
-
Select a Shade Color, and other options for shading.
-
Click OK.
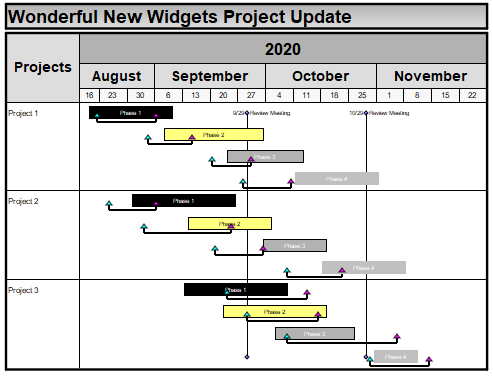
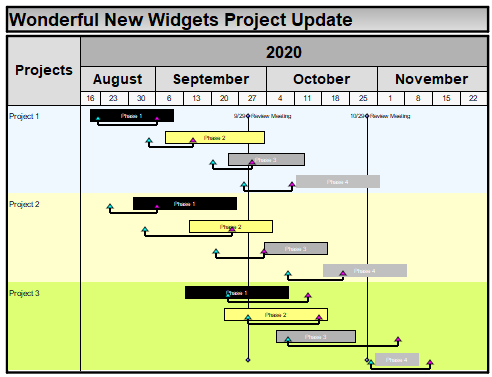
Example using task shading:
Method 3: Add a thin task row as a separator
-
Using the (arrow tool), click once on the first task row of a group.
-
On the Insert tab, choose New Task Row
-
Use the (arrow tool) to change the vertical height of the task row.
-
To adjust the height of a row, move your cursor to the lower edge of the task row to be adjusted, until the cursor looks like this:  Then, click and drag the row's lower horizontal gridline (or line guide) to adjust the height. Then, click and drag the row's lower horizontal gridline (or line guide) to adjust the height.
-
Then, click to select the new "separator" task.
-
The toolbar will change to Current Object: Task Row. On the toolbar, choose More Task Row Options and then Gridline/Shade.
-
Click the Shading tab.
-
Apply New Selections to all three sections.
-
Under Left Columns, Shade the task row.
-
Select a Shade Color, and other options for shading.
-
Click OK.
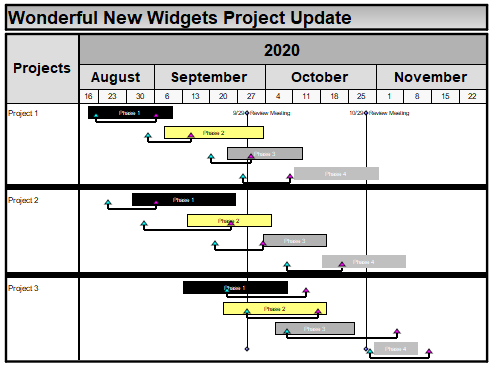
Example using thin task rows as separators:
|