|
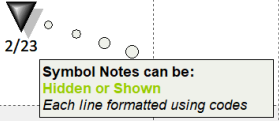
To increase the formatting capabilities of symbol note display, a variety of markup codes can be inserted to modify the formatting of the text on a line by line basis. These codes are:
<r> right justified. This command can be anywhere in the line and the justification is applied to the entire line.
<c> centered. This command can be anywhere in the line and the justification is applied to the entire line.
<b> bold. This command can be anywhere in the line and the bold is applied to the entire line.
<i> italic. This command can be anywhere in the line and the italics is applied to the entire line.
<image tag=”the tag of the image”>. The tag value between the quotes must match the Automation Tag assigned to the image to be placed at this location. The <Image… command needs to be on a line by itself, as anything else on the line is ignored. The image is displayed using its existing size. Changing its size where it is placed elsewhere on the schedule causes its size in the note to change also. So, if only images are to be shown in notes, it is still necessary to place and tag the original image somewhere on the schedule and then assign its page to some unused page. The new Manage Pictures option on the Tools menu makes it easy to find and move pictures from page to page.
<rgb:r,g,b>, e.g. <rgb:80,192,80>. This command causes the text in the line to be the color specified by the red, green, blue values embedded in the RGB command. This command can be anywhere in the line and the color is applied to the entire line.
In addition to these codes, substitutable text can also be used.
|
Example code for above note:Example code for above note:
-
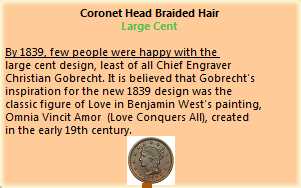
Coronet Head<c><B> Braided Hair
-
<C><b><rgb:80,192,80>Large Cent
-
-
By 1839, few people were happy with the
-
large cent design, least of all Chief Engraver
-
Christian Gobrecht. It is believed that Gobrecht's
-
inspiration for the new 1839 design was the
-
classic figure of Love in Benjamin West's painting,
-
Omnia Vincit Amor (Love Conquers All), created
-
in the early 19th century.
-
<Image tag="Coronet Head Braided Hair">
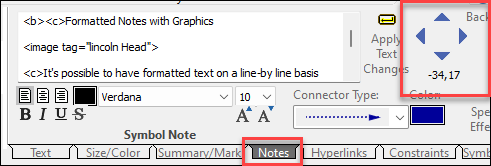
 Use hard line breaks to control line breaks in the displayed note. Any single line is limited to 150 characters. Double-clicking on a symbol to get the Symbol Properties box displayed makes it easier to edit notes, since it has a larger entry area than the toolbar. Use hard line breaks to control line breaks in the displayed note. Any single line is limited to 150 characters. Double-clicking on a symbol to get the Symbol Properties box displayed makes it easier to edit notes, since it has a larger entry area than the toolbar.
|
 (
(
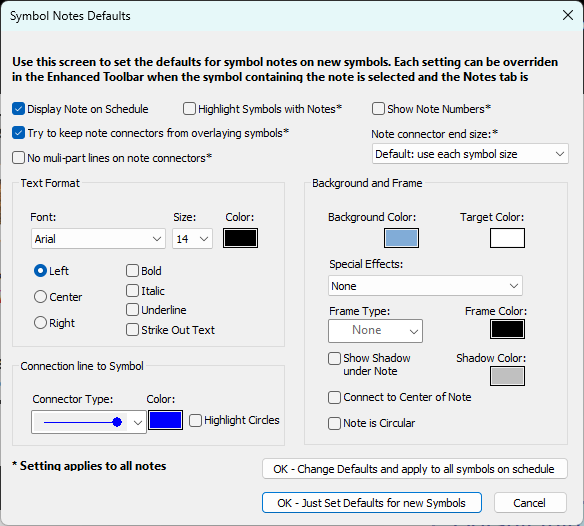
 on symbols containing notes.

 (un-check)