Vertical links
Vertical links are used to establish dependencies (predecessor and successor relationships) between dates on different task rows.
![]() Tutorial Lesson 4 - Customize the toolbox and Tutorial Lesson 5 - Work with dependencies
Tutorial Lesson 4 - Customize the toolbox and Tutorial Lesson 5 - Work with dependencies
Contents
|
|
Customize the vertical links in the toolbox
|
Up to 8 vertical links can be set up in a toolbox.
|
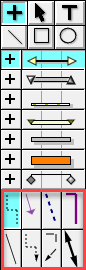
Toolbox:
|
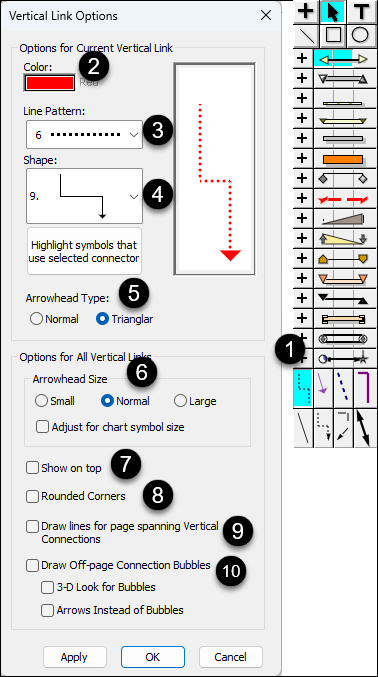
Vertical Link Options:
|
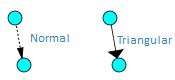
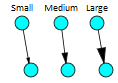
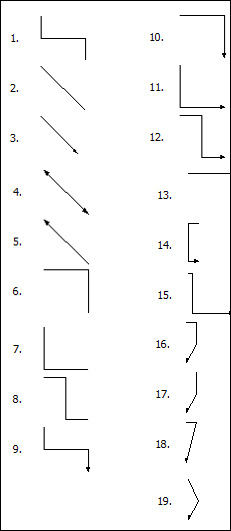
Vertical Link Shapes:
|
|
|
Add vertical links
|
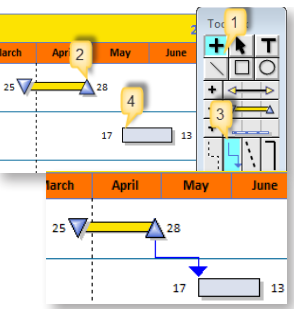
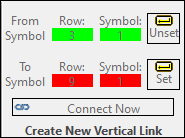
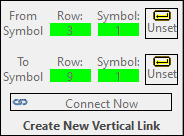
Each symbol (predecessors)can have up to 5 vertical links originating from it. They can connect to any other symbol (successor) on another task row. Then, when symbol dependency mode is turned on, and a symbol is moved, any dependent symbols will move by the same amount of time. Set up a dependency
|
 |
|
Set up many dependencies at once:This method should only be used when only one start symbol and/or one end symbol are on each task row.
|
 |
 (
(|
|
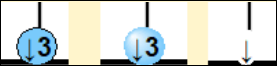
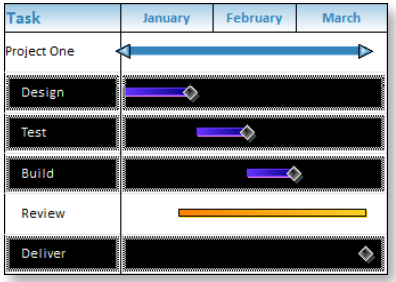
Add links on a dense or multi-page schedule
|
If your schedule is similar to the above (very dense) or if your schedule has many pages, you may find it challenging to add vertical links between symbols. Using the Milestones Professional Toolbar, it's possible to select symbols individually using either the keyboard or the mouse and then connect them in a separate step. This new methodology saves time and is less prone to error.
|
Delete vertical links:Delete links from a single symbol
Delete all vertical links from selected task rows:
Delete selected vertical links:Up to five vertical links can extend from a single symbol. Selected vertical links can be deleted in the Symbol Properties dialog box.
Hide or show vertical linksHide vertical links:
Show vertical links:
Highlight dependent symbols
|
 (
( Task Links.
 Task Links
 Dependency Mode
Related Topics