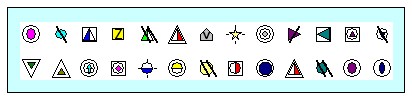
Symbols
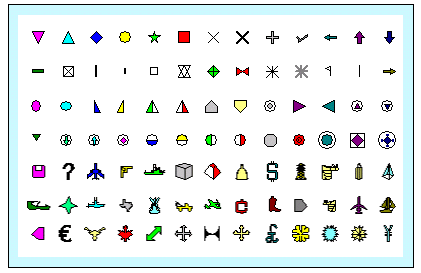 |
Up to 64 symbols can be shown in each schedule's toolbox. Each symbol can be customized to meet the user's scheduling needs. In the toolbox, double-click a symbol to change it. Changes in the toolbox affect all occurrences of that symbol on the schedule. In this topic, learn how to:
|
Customize a toolbox symbol:Customize the properties of each symbol in the toolbox. If the symbol is already on the schedule, changing the symbol in the toolbox will change all symbols of that type which are on the schedule.
Change a symbol which is on the schedule to a different toolbox symbol:
Change the properties of a symbol on the schedule:
|
 (
(
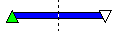
Symbol Shape
|

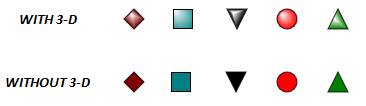
3-D Look
|
|
Milestones simulates a 3-D look by adding light to the upper left of the symbol. For any toolbox symbol just
Choose Format | Frame, Highlights | Shadows , Highlights to apply a 3D Look to the entire schedule. |

|
|
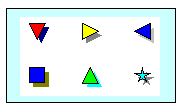
Symbol usage type (Normal, comment, status or baseline)
|
Choose from one of 4 symbol usage types:
|
|
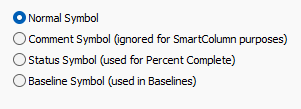

 When a baseline, comment or status symbol is added, a small letter b, c, or s will appear near the cursor while adding the symbol. To identify a symbol on the schedule as Normal, Baseline, Comment or Status, click the Arrow button in the toolbox. Next, click the symbol on the schedule. The
|
|
Color, pattern and shadow
|
|
Set toolbox symbol properties:
Set Change a symbol already on the schedule:Some, but not all, properties can be changed on the schedule.
|


|
|
Letter and symbol markings
|
|
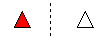
Any standard symbol can be enhanced by adding a letter marking and/or a symbol marking. Enter a single letter or number for Letter Marking. That letter or number will appear inside the symbol when it's added to the schedule. Similarly, a symbol marking is an overlay. See the examples to the left.
|

|
|
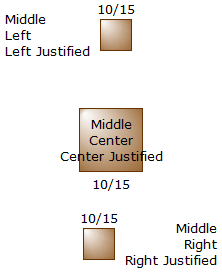
Symbol date and symbol text positions and properties
|
|
Set the default text positions for a symbol:
Override text and date position for individual symbols on the schedule:
-OR-
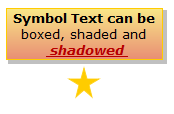
Add a shadow, shading, or a box:
|
|
|
Symbol vertical positions
|
Each symbol can be positioned within the row. A total of 11 positions (levels) are available. Change the position setting of a symbol in the toolbox:
Change the position setting of a symbol in the toolbox:
|
|

|
|
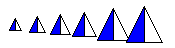
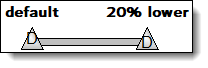
Symbol size
|
Symbol size can be set globally for all symbols, for each symbol in the toolbox, and individually for symbols already on the schedule. Change a single symbol's size:
Change the size of one toolbox symbol:Each toolbox symbol can have an override symbol size. This override will apply to all symbols of this type that already exist on the schedule (optionally) and all future symbols of this type that are placed on the schedule.
|
Change the global symbol size:
Reset a symbol to the global symbol size:
|


|
|
Always on top symbols
|
|
Designate a symbol to be on topDesignate that certain symbols are on top of other symbols. Normally symbols are drawn sequentially across a task, so that symbols on a later date will be on top of a symbol from an earlier date.
|


|
|
Add and customize a symbol mark
Symbols can have marking patterns going through or around them, such as slash marks, circle enclosures, and box enclosures. Letters can also be added. This makes for some interesting customizations.
Customize a toolbox symbol's mark:
|
 |
Customize a toolbox symbol's letter mark:
|
Vertical adjustment example:
Use a symbol mark with Wingdings or other symbol fonts to create new symbols. Instructions
|

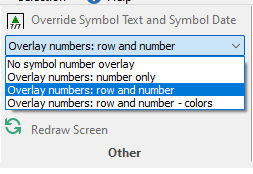
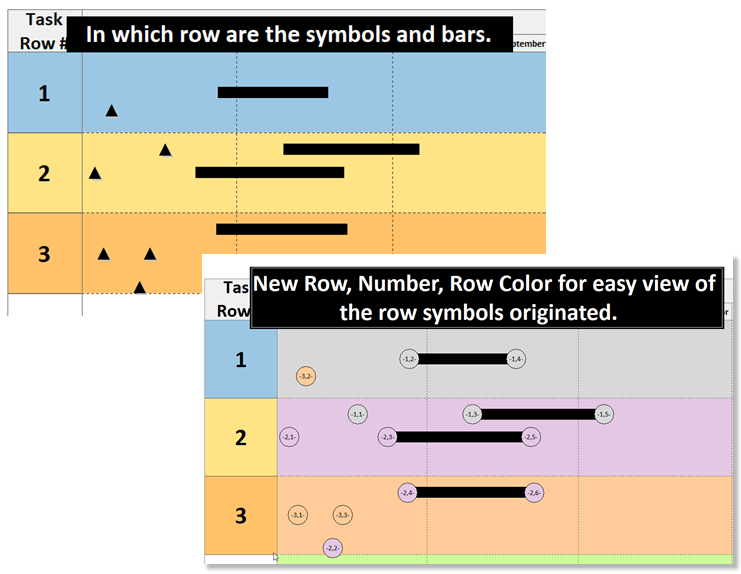
Symbol Number Overlays
Have a very dense schedule with symbols on many levels of each task row? Now it's easy to visually tell which actual row your symbols are on.
In the example below, it's easy to see where the symbols belong.
View | Other
Related Topics